
Truth be told, not many people remember to clean their bathroom fans regularly. Yet, it’s very important if you don’t want to cause your fan troubles. For one, your bathroom vent is at risk of slowing down if it’s not cleaned regularly. Besides, not cleaning the fan regularly could invite dust, which could prevent it from exhausting air properly. As we hinted earlier, the only way to avert these is to clean the fan frequently.
However, cleaning bathroom fans is not as straightforward as most people imagine. If you want to achieve the best outcomes, you need to learn how to clean bathroom fans properly. Luckily for you, we have prepared a comprehensive step-by-step guide to help you understand how to clean your bathroom vent. In this article, we will discuss the tools you need to do the cleaning, how to do it, and how often you should do it. Ride along with us!
Thirdly, you’ll need a vacuum cleaner to help vacuum the exhaust pipe, external exhaust port, and fan. This can get can get complicated if the right vacuum cleaner is not used. You can count on high-quality vacuum cleaners like the Miele Grey Classic C1 Pure Suction Canister Vacuum Cleaner to do the job. This particular vacuum cleaner has a high suction power of 1,200W and a combination flood head that helps to clean thick debris.
Cleaning your bathroom fan doesn’t require you to hire a professional; you can do it yourself and finish up in less than an hour, depending on the level of dirt. We have prepared nine easy steps that will help you learn how to clean the vent fans in your bathroom. They are:
Before embarking on cleaning your bathroom fan, you should turn off the power. You should ensure it’s not turned back on until you’re done cleaning it. This move is to ensure your safety and that of the device. Cleaning without turning off the power can endanger you and damage the fan.
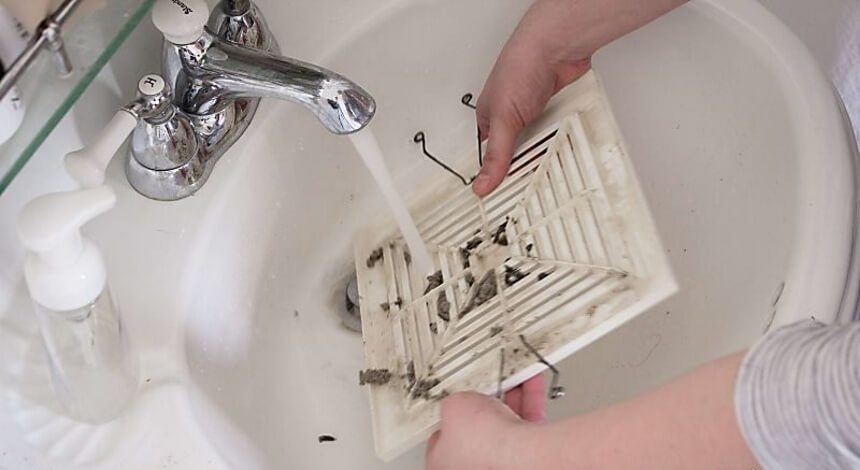
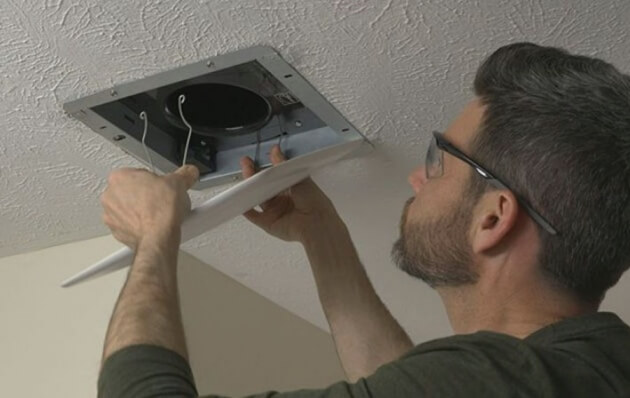
After removing the cover, the next thing to do is to clean it in your bathroom sink with a damp microfiber cloth, warm water and dish soap. Gently scrub the cover until you get rid of all the debris. You can keep in warm soapy water, and continue cleaning other parts of the fan.
After removing the cover and that barrier is out the way, you should unplug the fan. If a receptacle is absent in the fan, you’ll have to flip the breaker at your electrical panel to kill the power. You can check the voltage with the help of a non-contact voltage tester to be sure there’s no power left in the fan. After this step, you can be certain of your safety and go on with the job of cleaning your dirty bathroom vent.
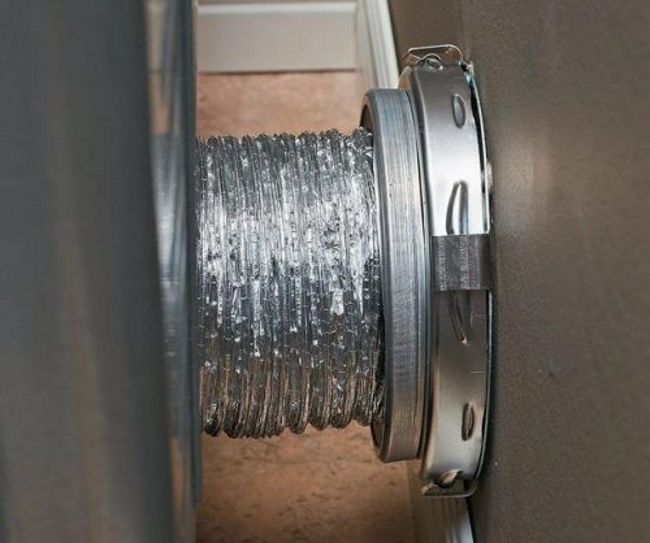
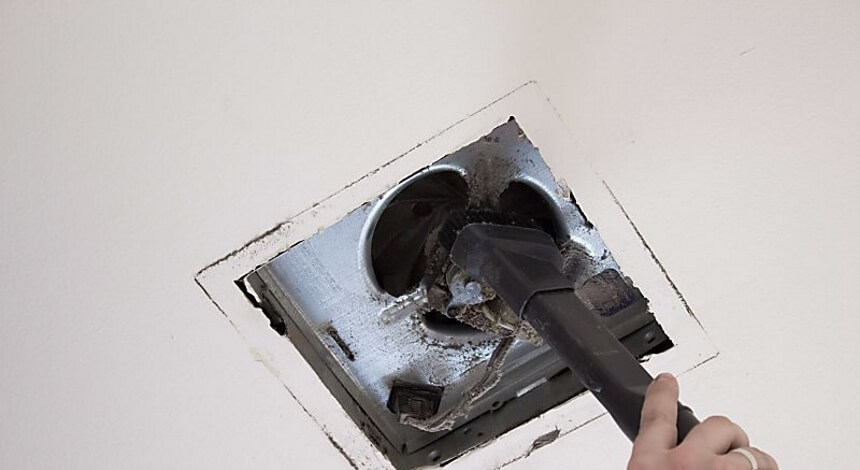
Remember when we told you that you need a high-quality vacuum cleaner to help clean your bathroom fan? This is one of the places you need the machine to help you. Although you can use a brush attachment or crevice to vacuum off the inside of the fan’s exhaust pipe, a vacuum cleaner will do the job much faster and better. You can also use a damp cloth to wipe off the parts the vacuum missed.
After vacuuming the exhaust pipe, the external exhaust port should be next. You’ll need to go outside and find your bathroom fan’s exterior vent. The vent is often located at the side of the house or on the roof. Use a damp cloth to wipe off the dirt on the other end of the exhaust pipe. However, you can do this later once you’re done with the entire process.
If you’ll fully clean your bathroom fan, your best bet is to remove it, so that you can gain access to the fan blades. You can’t fully clean the fan blades without the removal of the exhaust fan.
But you can’t remove the fan by simply removing a clip and taking it out. To remove the fan, you have to remove a few screws and nuts. Depending on your fan type, you may also have a few metal clips to unclip. Get a screwdriver to loosen the screws and remove them. After you’re done removing them, simply remove the fan from its cavity.
Remember to disconnect the vent hose from the fan during the removal process.
After removing the fan, the next task is to clean the fan blades. Depending on your fan type, it will either be an axial fan Trusted Source Fan (machine)- Wikipedia There are three main types of fans used for moving air, axial, centrifugal (also called radial) and cross flow (also called tangential). The American Society of Mechanical Engineers Performance Testing Code 11 (PTC) provides standard procedures for conducting and reporting tests on fans, including those of the centrifugal, axial, and mixed flows. en.m.wikipedia.org (propeller type) or a squirrel cage (centrifugal type). Wipe the fan blades clean with a damp cloth soap. You can also use a vacuum attachment or cleaner to get through to the hard-to-remove dust/dirt.
You need to clean the motor next, but before you do so, get it covered with a plastic bag and tie it. Once the motor is covered, you can wipe it clean with a damp cloth and soap. After cleaning, get clean water to rinse off the motor and fan blades to remove the soap residue.
If you’re not able to remove the fan, use the vacuum cleaner to get rid of as much debris as you can.
Get the motor and fan assembly back to the housing area. Retrieve the screws you unscrewed when removing the assembly. Before strewing them back together, move the fan blades back and forth to ensure that they’re not hitting anything. If there’s no issue, you can go ahead to tighten the screws into place.
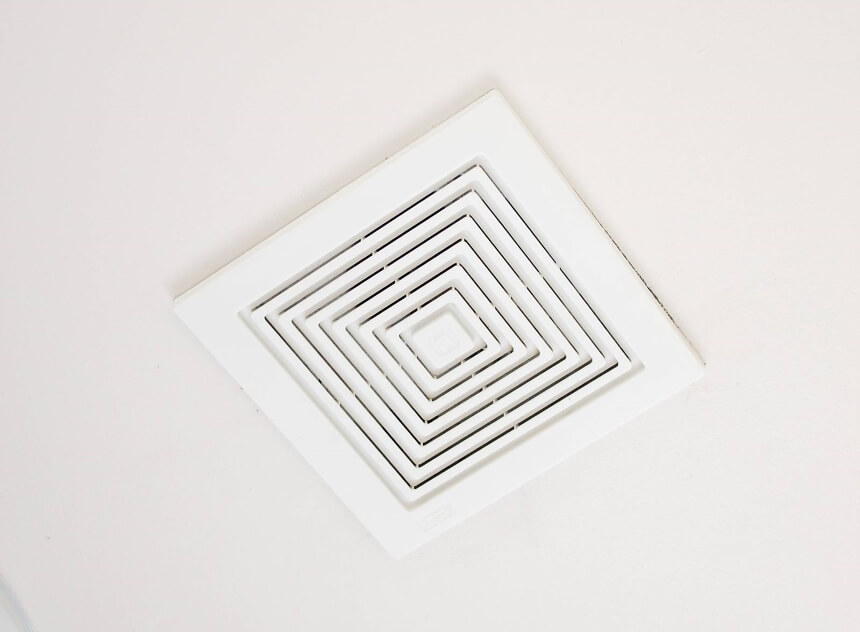
You can return the cover to the bathroom exhaust fan after it is completely dry. Press it until the clips click into place.
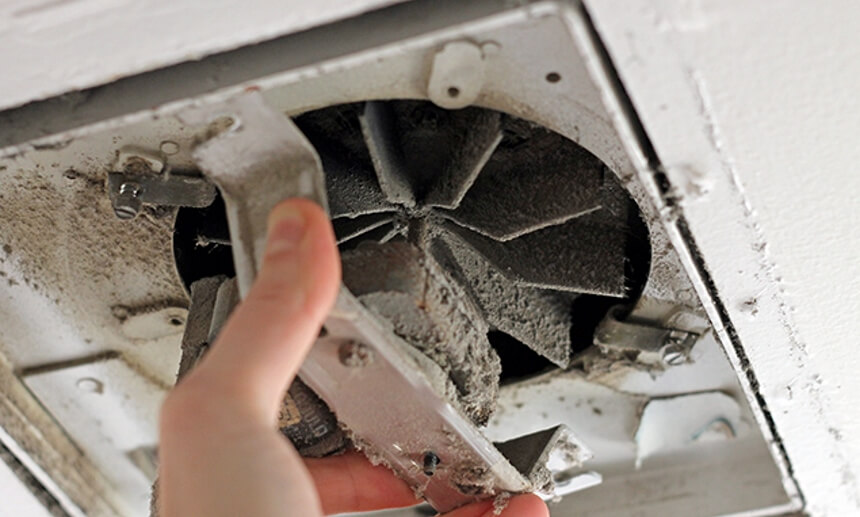
But you can save yourself from these troubles if you clean the fan regularly. Regular cleaning means dust and debris are not given time to build up and cause troubles. But how often should do the cleaning? Cleaning your bathroom fan every six months to one year is ideal.
You should create a schedule for cleaning your bathroom fan, so you don’t forget and get into trouble later. When you have a high-quality and reliable fan like the Broan Nutone SPK110 Sensonic Bathroom Exhaust Fan, you don’t want to leave it at the mercy of dust. To keep this type of fan operating at the optimum level, you need to keep debris and dust away from it. This means regular cleaning.
Many people tend to skip cleaning their bathroom fans because they feel the exercise is complicated when in reality, that’s not the case as we’ve established in this article. When uncoupling a bathroom vent, you have just a few screws and electric wires to deal with, meaning you don’t need to seek the help of a professional. The cleaning of bathroom fans requires getting the right tools together and following the right steps. In this article, we have nine simple and easy-to-understand steps that detail how to clean bathroom fans. With them, you can keep dust and debris away from your bathroom vent and avoid any trouble.
