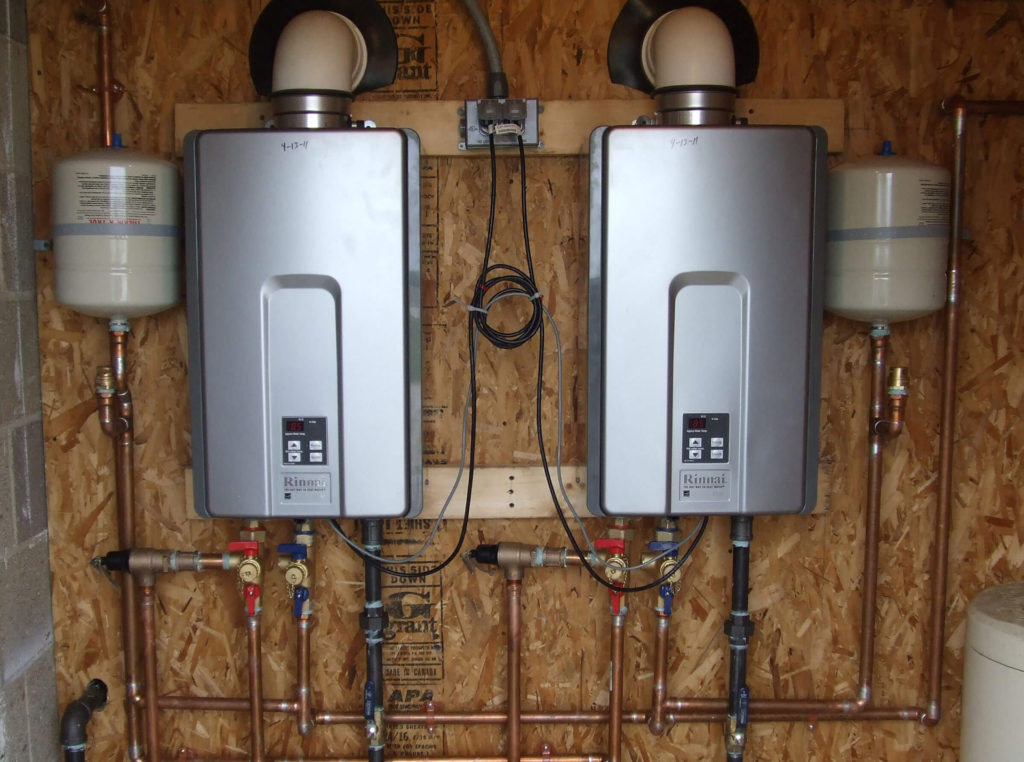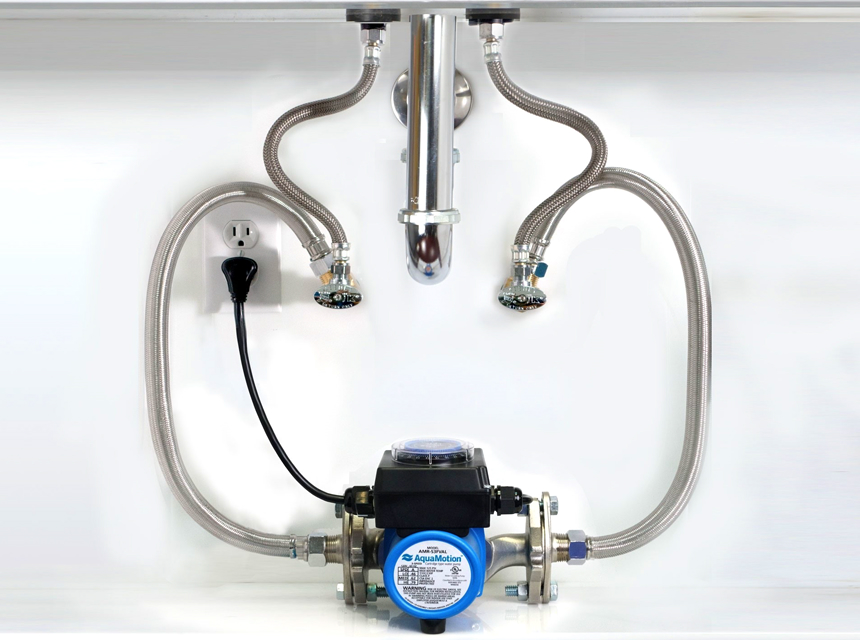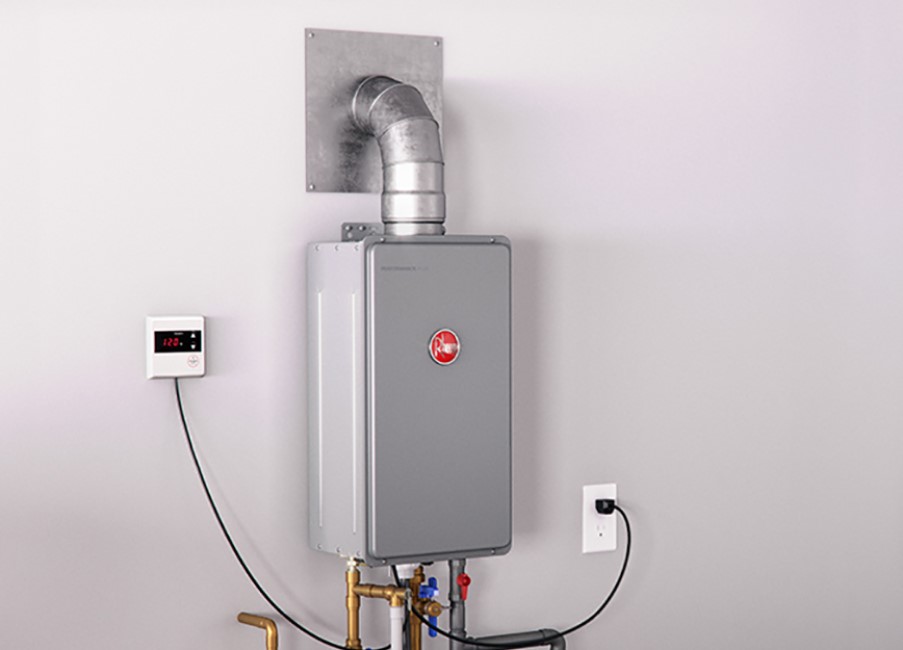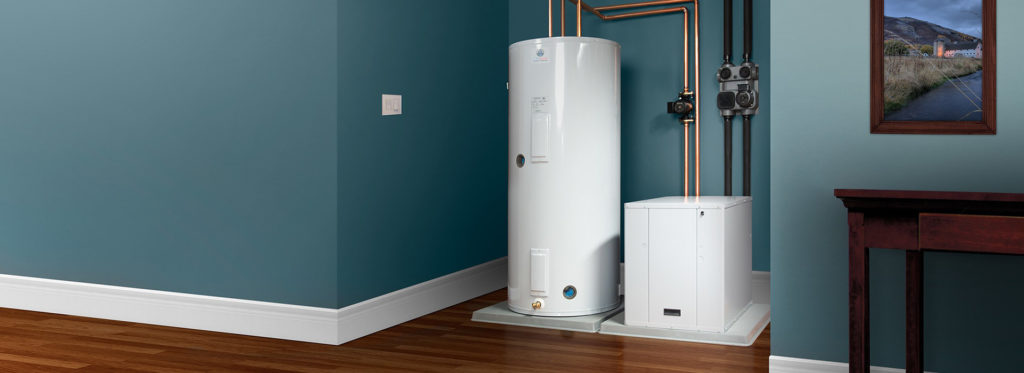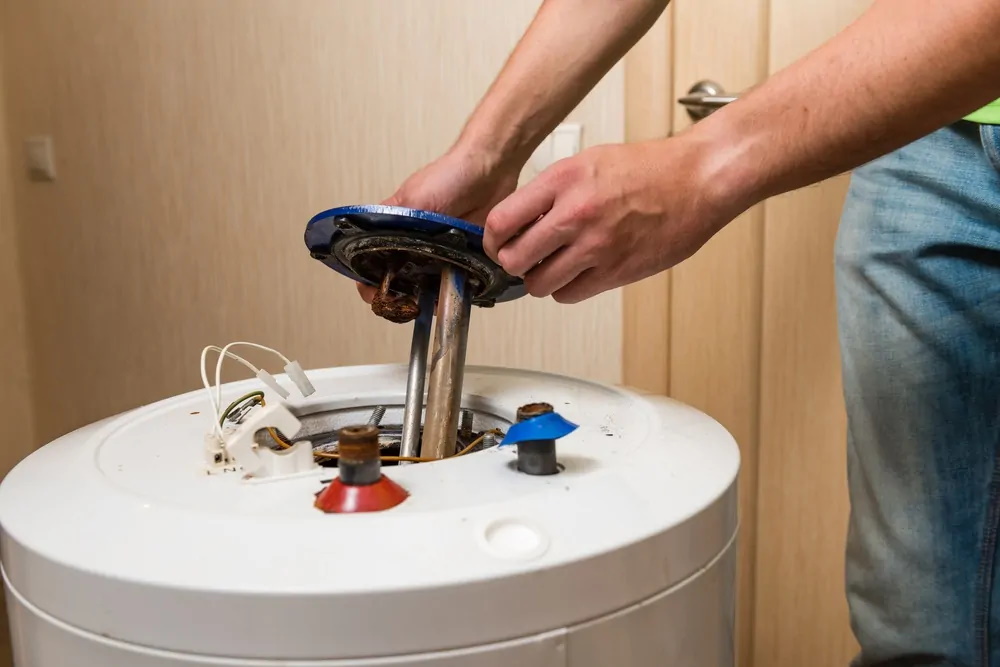

The tankless water heater is designed to provide hot water on demand. Also known as an on-demand water heater, it’s a cost-saving way of taking a shower without having to store large quantities of hot water. Your shower will never turn cold on you either! Some locations require a licensed plumber to install a tankless water heater, but if permitted, you can do it yourself as a DIY project. Use our practical tips on how to install a tankless water heater and make sure you comply with plumbing and electrical codes when getting all the parts. This way, you know your on-demand tankless water heater is legit, will function as it should, and always guarantee you a hot shower! Installing a tankless water heater requires following some basic steps, while general plumbing and electrical technical skills are also needed if you plan to do the job yourself.
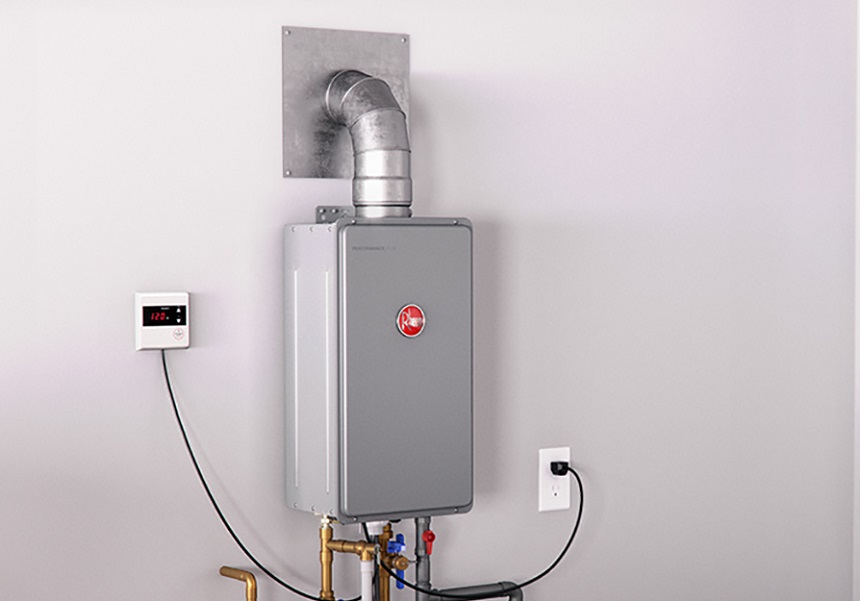
Going DIY will save you some money, but you do need to have a good understanding of gas and water lines plus basic electrical skills. Improperly installed gas tankless water heaters can result in serious damage caused by:
A quick tip! Check that your household insurance covers any damage caused by the DIY installation of water heaters. Most insurers will only cover you if the unit was installed by a licensed professional. If you feel you have the skills required to properly install a gas tankless water heater, use our practical DIY tips to ensure, the installation goes smoothly.
Reading the manufacturer’s manual is an absolute must before you start any DIY job that requires installing a plumbing unit. This way, you have a full understanding of how the unit works, what preparation is required, and how to actually install the gas tankless water heater. The manual will also tell you if the unit’s warranty becomes void if installation isn’t performed by a certified plumber.
Finding out what
permits are required for installing water heaters
Trusted Source
Water heaters require two seismic straps; one located within the top 1/3 of the water heater unit and one at the bottom 1/3. The bottom strap must be located at least 4” away from
the water heater controls.
www.contracosta.ca.gov
in your town or state is essential if you want to stay within the law! Most locations throughout the United States require you to pull a code when upgrading or to replace a broken water heater. Obtaining a permit is mostly easy by popping into your local building department. There will be a cost for obtaining this permit.
Checking the water pressure is vital before starting any installation work. If the incoming water pressure reads over 80 psi, you’ll need to connect a pressure-reducing valve. This is done upstream from where the water heater is being installed.
The best time to connect the pressure-relief valve is when you’re making the hot and cold water connections.
Your local building code will tell you where your water heater needs to be located for installation and use in your home. Venting of the unit through a pipe outside must also be possible from this spot. Avoid spots that expose your unit to the following:
Measuring the location for unit installation is essential so that you buy the right-sized water heater. There must be enough clearance around the unit so check the manual for specific dimensions before deciding on which unit to purchase.
Gas tankless water heaters are different from tank-type units. They use more gas to work efficiently. Checking that your current gas line is sufficient for the type of unit being installed is vital if you want optimum performance. A licensed contractor will be able to verify the status of your line and upgrade you to a bigger gas pipe if necessary.
Before removing the old unit, shut off the water supply valve located before the heater. If there isn’t a valve, you’ll have to shut off your main water supply. Turn off any gas or electrical supply to the water heater. Heed the following steps when removing the old unit:
A tankless water heater can be set directly into the wall, installed flush with the drywall, or using a mounting box. The box should be mounted three to four inches away from the wall using proper anchors. It must be sturdy enough to keep the unit stable.
Following the manufacturer’s manual instructions for attaching the water heater to the mounting box will ensure the unit is securely fixed in place.
Go ahead with the following steps if your current gas line is the right size:
When you’re done assembling all the connections, use a gas pressure test gauge to check that the line is functioning correctly. It’s highly recommended to use a professional to install the has line if you’re unsure about the procedure.
Copper piping should be used to connect hot and cold lines to existing water supply pipes. The new lines must run to the unit and may need to be cut and soldered to fit properly. If your water system has an anti-siphon valve, you’ll need to install an expansion tank close to the cold intake. You’ll also need to install a pressure-relief valve at this stage if the water pressure is above 80 psi Trusted Source 24 CFR § 3285.603 - Water supply. | CFR | US Law | LII / Legal Information Institute The shutoff valve must be a full-flow gate or ball valve, or equivalent valve. www.law.cornell.edu . Always follow the guidelines in the manufacturer’s manual when installing new water lines.
Once you’ve installed the new gas supply and water lines to your unit, you need to check for leakages. Turning on the water supply will show if there are any leakages in the new piping. Switching on the gas supply will indicate if there are leaks that need to be fixed. When the checks have been done, turn off the supply lines to complete the installation of the appliance.
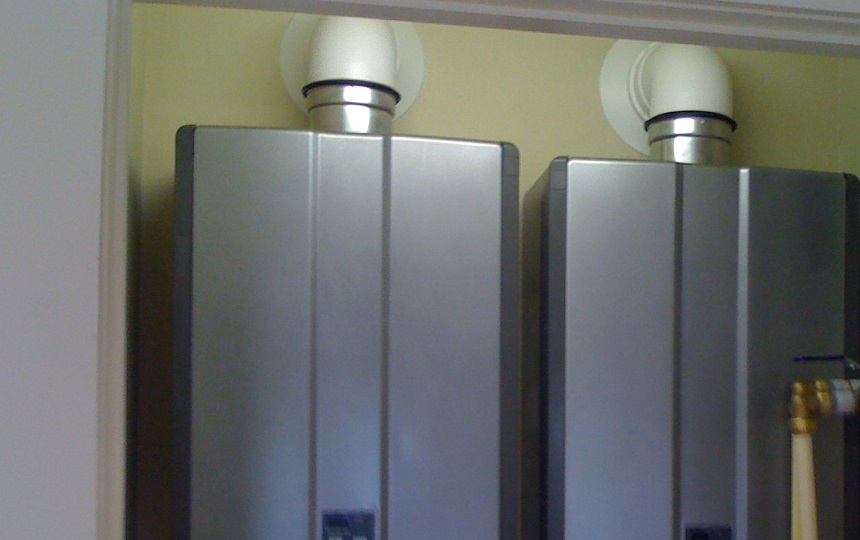
It’s important that you only use pipes rated for venting gas tankless water heaters. When purchasing an indoor gas tankless water heater, find out what type of venting option it uses. You may need a vent kit, depending on the venting design of the unit. Use the following steps to install an exhaust vent:
Open a faucet to full heat to purge air from the water pipes. This action will also help to remove any air from inside the new appliance. When all air has been purged, switch off the faucet.
If you’ve followed all the above-mentioned steps, you’re ready to plug in your new gas tankless water heater.
While you may be installing one of the best gas tankless water heaters to provide you with hot water on demand, if the pipes aren’t insulated, you’re going to waste heat. Before switching on the gas supply, insulate the hot water pipes coming from your new water heater.
You’re now ready to turn on the gas supply to your new water heater. When switched on, check that your unit is functioning properly.
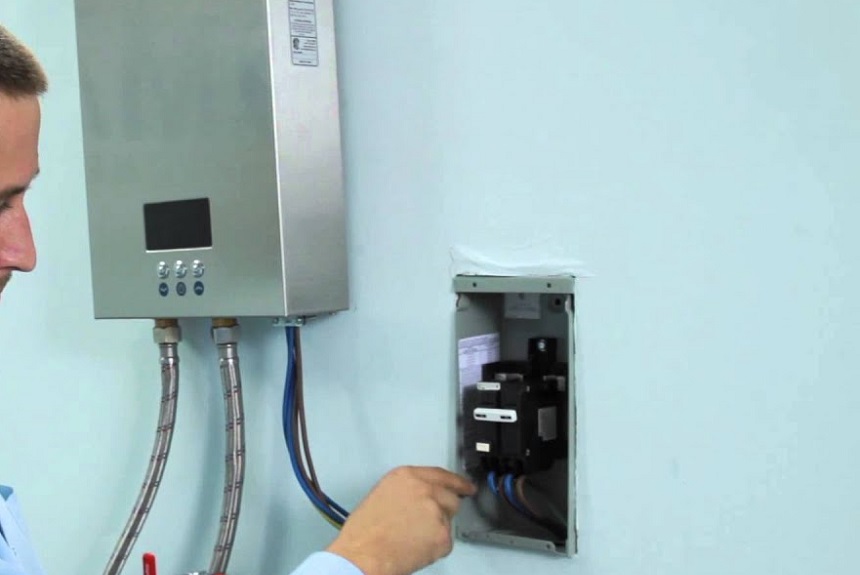
If you’re replacing your old unit with an electric tankless water heater that gives you an unlimited supply of hot water, some of the steps will be different. It’s absolutely vital your electrical skills are up to scratch for safety reasons! If you feel uncertain, rather call in a professional plumber to install your electric tankless water heater.
Check that your electrical service panel can handle the addition of a new tankless water heater. Most units require 240-volt electrical power or four x 40 AMP breakers. An electrician will be able to confirm if your panel can handle the new unit and, if necessary, will upgrade it. You can also find this information inside your electrical service panel on a label.
Similar to the step for installing a gas tankless water heater, you need to check the water pressure isn’t above 80 psi. If it is, you’ll need to install a pressure-relief valve to protect your new unit.
Permits are also needed for installing new electric tankless water heaters, which can be obtained from your local building department.
When using on-demand water heaters, you want to place them as close to the system using it to get the full benefit of the unit. Electric tankless water heaters normally have to be installed vertically, so take this into consideration when finding the right spot for it. Sufficient clearance around the unit is also important for easy access. Similar to all tankless water heaters, you need to avoid spots that are exposed to freezing temperatures and are prone to condensation and dampness.
All circuit breakers must be turned off before you start the installation process; otherwise, you risk doing yourself serious injury or damage to the unit.
Turning off the main water supply will prevent flooding of the unit’s location!
Disconnect the old water heater and drain the unit. Turn on a hot water faucet to release pressure buildup in the system. Once fully drained, the unit can be disposed of. Some recycling departments may be happy to take it off your hands!
Remove the cover of your new unit by unscrewing any plugs or screws holding it in place.
The new electric tankless water heater should come with its own supply of screws and anchors. Follow the manufacturer’s guidelines for mounting the unit to the wall.
Assemble the hot and cold-water connections. Use copper pipes for high-temperature resilience. The pipes may need to be cut and soldered to fit properly. Always flush soldered pipes before attaching to the water heater and clean any sawn edges so they’re smooth. Fitting shut-off valves before and after the heater can be done at this stage. This is highly recommended if you want to carry out repairs and maintenance of the unit without shutting off the main water supply. Installation of the pressure-relief valve can be done on the cold-water side.
Check your local and state installation codes to find out if you need to add a temperature and pressure-relief valve Trusted Source Water heater safety in the International Codes - ICC A water heater temperature and pressure relief valve is an important safety device for water heaters and the water distribution system. www.iccsafe.org . This is a safety measure and if necessary, do it when you’re working with the cold and hot water connections.
Purge air from your new water heater and pipes by turning on a number of hot water faucets. While this is happening, check all your connections for any leakage.
Make absolutely certain that you’ve closed all the water outlets before proceeding with the installation of your new electric tankless water heater!
Follow the manufacturer’s instructions for connecting the water heater to the electrical panel. A wiring illustration will guide you through the process. Cut each wire to the right length, strip them, and push them through the holes of the new unit’s housing. Secure the wires to the right slots on the electrical panel.
It’s essential that each circuit has a ground conductor connected to the circuit breaker panel and the water heater’s grounding busbar. Double-check that all electrical connections are made correctly by referring back to your manual.
Replace the water heater’s cover using the plugs or screws removed earlier.
Switch on the circuit breakers and select your unit’s settings to your personal preference.
Turn on the hot water faucet to determine if the heat is at the right temperature for you. Change the settings on the unit if you need to alter the temperature.
Installing water heaters of all sizes and types requires a meticulous process. Gas tankless water heaters need to be properly connected to both the water and gas supply lines. Electric tankless water heaters need to be connected to your home’s electrical service panel and water supply lines. While installation is perhaps simple, plumbing and electrical knowledge are vital to ensure a safe connection and hot water supply on demand. Knowing how to install a tankless water heater before doing a DIY job prevents you from making mistakes that could result in costly damage. Sometimes, paying a professional to do the job saves you from these mishaps while protecting the unit’s warranty at the same time!
