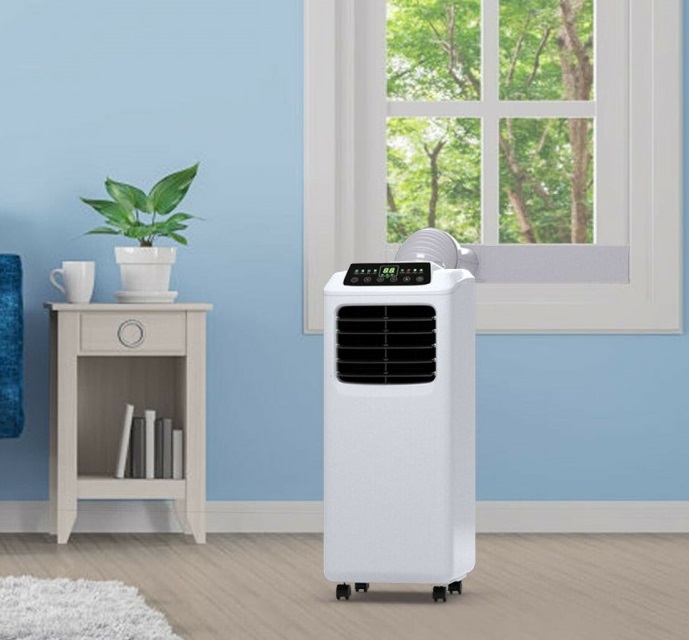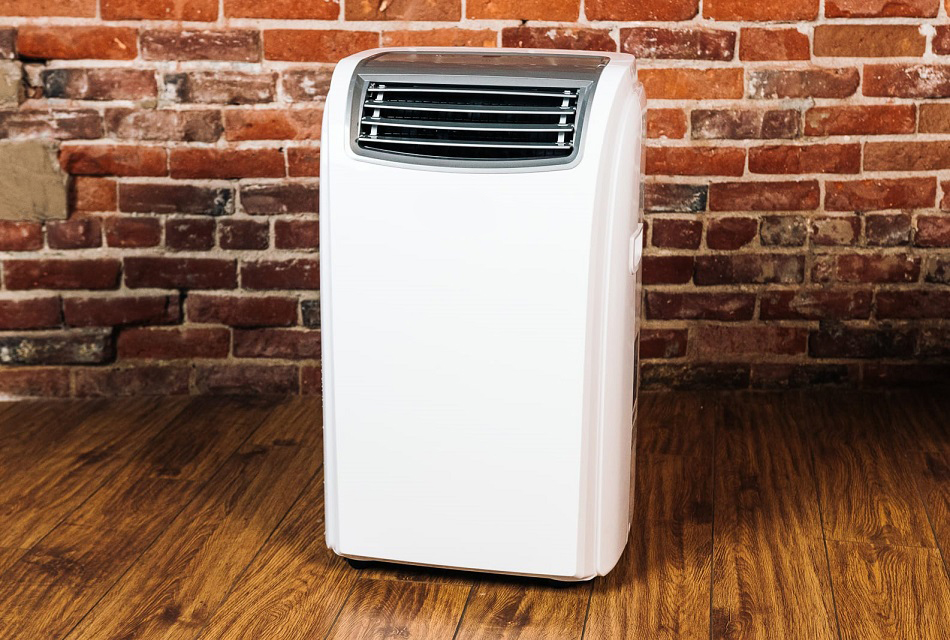

If you don’t have the option of a standard heating, ventilation, and air conditioning system ( HVAC Trusted Source Heating, ventilation, and air conditioning - Wikipedia Heating, ventilation, and air conditioning (HVAC) is the technology of indoor and vehicular environmental comfort. Its goal is to provide thermal comfort and acceptable indoor air quality. HVAC system design is a subdiscipline of mechanical engineering, based on the principles of thermodynamics, fluid mechanics and heat transfer. “Refrigeration” is sometimes added to the field’s abbreviation, as HVAC&R or HVACR or “ventilation” is dropped, as in HACR (as in the designation of HACR-rated circuit breakers). en.wikipedia.org ), you can always opt for a Portable AC of your choice. The options on Amazon alongside other vendor sites ensure you can get one that’s an ideal fit for your needs. Notably, the portable AC might be cheaper and more convenient than most other air conditioning options, which is a huge plus.
You’ll need to learn how to install a portable air conditioner if you’re going to make full use of the machine. However, we have faith that you can hack it by reading the instructions in the write-up below. You can even have this guide open as you follow the step by step procedure provided.
Portable air conditioning installation is relatively easy, although there are a few things you need to check for at the start. We’ve listed these below:
First, check the power cord on the portable AC. This will dictate the maximum distance allowed between the machine and the grounded power outlet. Notably, you can only use a grounded power outlet since a portable AC’s power requirements are too high for a power extension or a power strip. Also, you don’t want your power cord to stretch, as you may find yourself tripping over it.
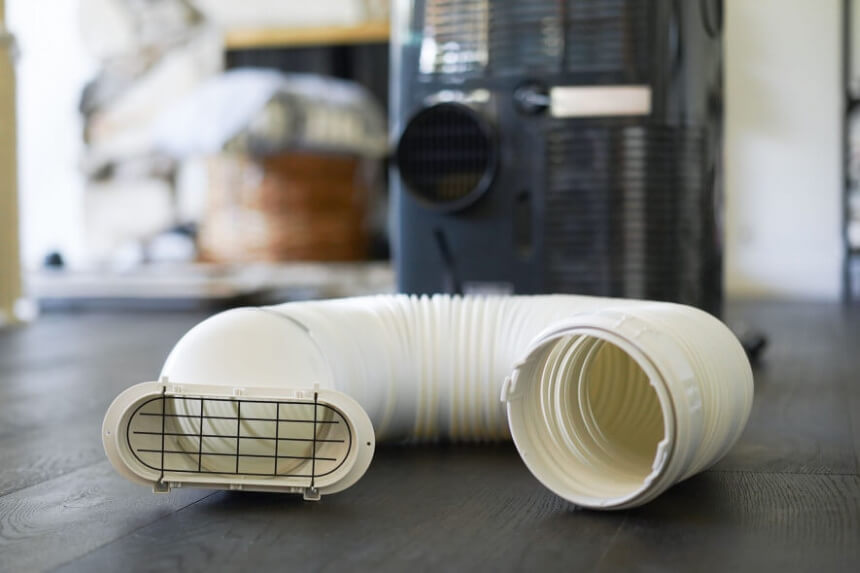
The positioning of the portable AC is also dependent on the length of the exhaust vent. Notably, portable air conditioning installation should be done near a window. This is because you’ll need to attach the exhaust vent to the window.
If you don’t have a window, ensure you have enough length in your exhaust vent to reach your wall, ceiling, chimney, or whichever outlet you will use to get rid of the hot air. Finally, the exhaust vent has to come with the relevant adapters for connecting it to the window exhaust and the machine.
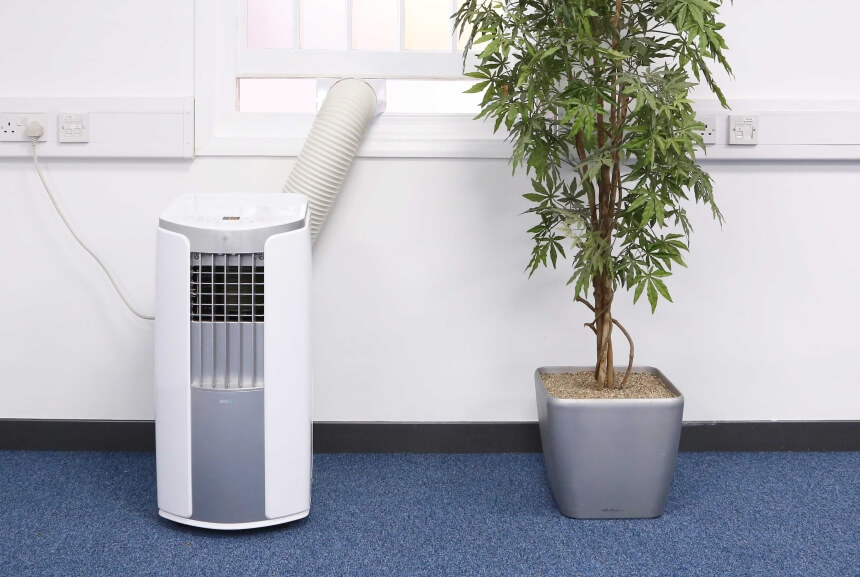
As for air circulation, it’s essential to have the machine where there are no obstacles, including furniture, walls, plants et cetera. The device needs constant airflow if it’s to achieve its mandate. Furniture and other obstacles will only get in the way of that. The recommended distance is about 8”-12” from all obstacles. You may have to move some of your other installations around to make this a reality.
The window kit will allow you to seamlessly link the air conditioner to the outside, where it can vent the hot air it collects from the room. It includes a slider kit that seamlessly integrates with windows. There should also be a large oval hole in the slider kit
A lot of these portable air conditioners are relatively loud. As such, it might not make sense to install them in a room where you need peace and tranquility, such as your bedroom.
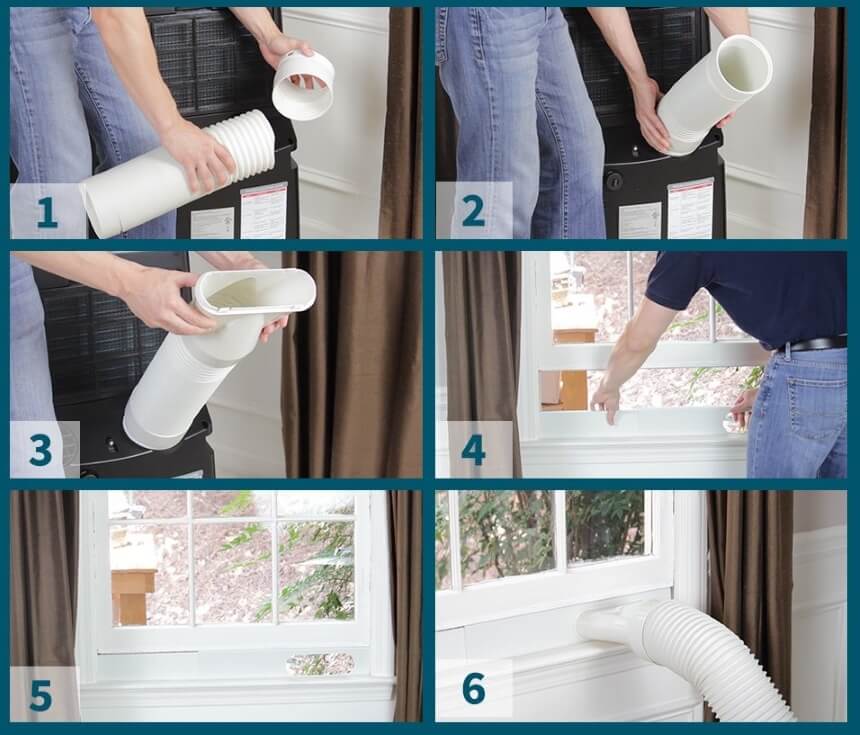
You start by installing the adjustable window kit. The one that ships with your AC consists of two relatively long and solid panels. Notably, one of the panels will have an oval hole in it. In some cases, you are given screws that will help you put the two panels together.
Next, you’ll have to measure the size of your window. In case your window slides up and down, you’ll have to measure the width. This should tell you how long your sliding panel should be so you can make the appropriate adjustments.
There is a workaround if you don’t have a tape measure near you. You open the window, place the sliding panel on the bottom part then adjust accordingly until it fits. If there is a screw, you can lock the panels in place before you close the window.
If you do this part of the installation right, the sliding panel should keep air and sunlight out, except of course for the oval hole. In some cases, your product might even have shipped with weather strips or foam. These accessories will seal the small spaces between the panel and the window so insects and warm air can’t get through.
In rare cases, you’ll find the window is too big for the sliding panel provided or even too small. For the former, you’ll have to go to your local hardware store to get something to fill in the gap. Plexiglas is the recommended option, although it may not work for all of you. If it doesn’t, cardboard or plywood can also fill in the gap.
If you have the measurements for the gap, it should be easy to get the staff at the hardware store to cut the Plexiglas to the dimensions you need. However, if the window is too small, all you’ll have to do is trim the provided panel to the appropriate size. When you’re satisfied with the kit’s placement, you can close the window so that it holds the sliding panel in place.
This process also works for windows that slide from side to side. However, you will have to use the window’s height rather than the width when installing the sliding panel. For security reasons, you might have to buy and install a lock on the panels. This will keep people from opening your window from outside.
With the installation of the sliding panels done, you follow up by connecting the vent hose provided. If it isn’t already attached to the back of your portable AC, you should use an adapter to link the two.
You will also attach an adapter at the opposite end of the vent hose. After that, it should be a cakewalk to connect the hose to the oval hole in your panel.
Another thing to check for is whether the hose is straight. You don’t want it to restrict airflow between the AC and your window. Lastly, try not to stretch the hose too much. This concludes the window installation process, and all that’s left is to plug your portable AC in and test it whether it works.
As mentioned above, avoid power extensions and instead connect the device directly to a grounded outlet. Depending on the unit you have, the plug could have an indicator light as well as “reset” and “test” buttons.
The “test” button allows the plug to check the quality of the power flow. If the quality is not right, it will shut down the machine to prevent it from taking any damage. The indicator light will also turn off if this is the case. Use this button sparingly when you suspect there may be an issue with your power. As for the “reset” button, it reconnects the machine to the power.
In case you’re wondering how to install a portable air conditioner without a window, there are other options to work with. They include venting through a door, through the ceiling, or a wall. We’ve also covered each of these options below and what you’ll need to do to hack them.
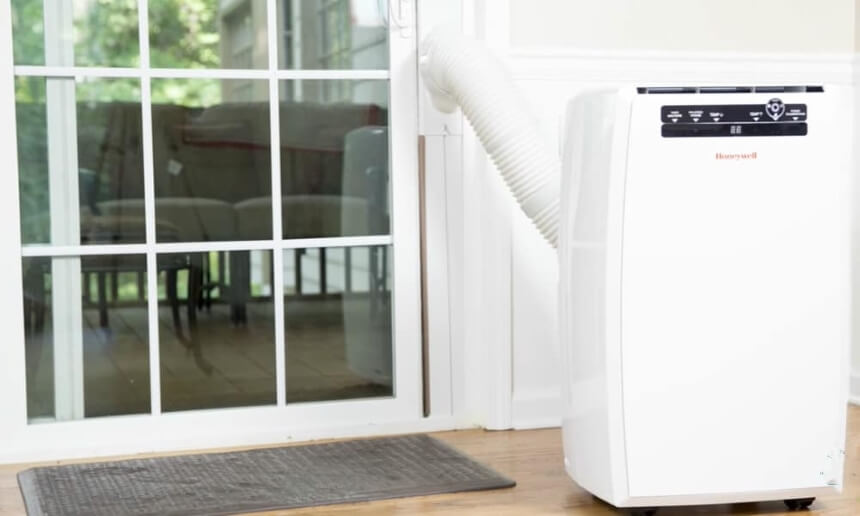
Unlike the one that ships with your AC, this one has three panels to ensure it covers the full height of your door. Before you install the Portable AC, please note that it is problematic to use your door when the AC is attached. However, if you use Velcro or something similar to keep the sliders in place, you can easily open and close the door without affecting the setup.
For security, adjust the security bar that comes with your door, so it can’t be opened while the AC is attached. A wood dowel will also work to hold the door in place, provided you cut it to the right size. However, these are not foolproof measures when it comes to security, and you might have to uninstall the kit before going to bed or traveling away from home.
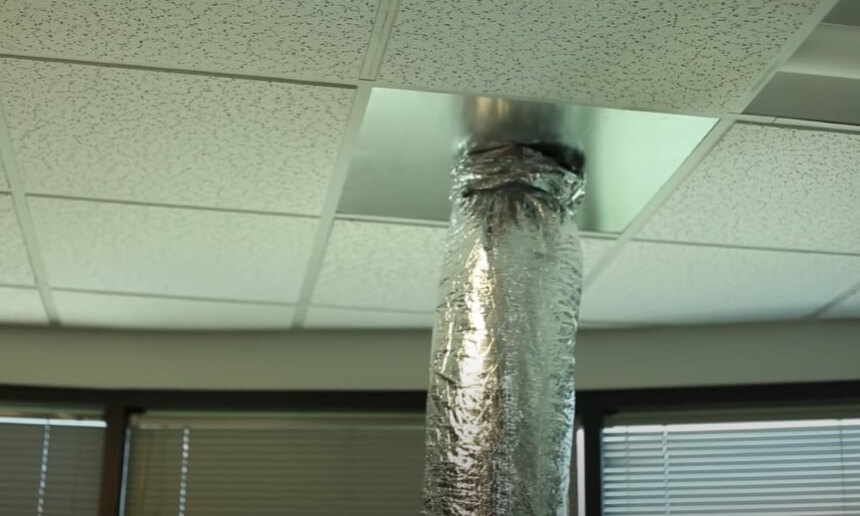
The last option is through a wall. Just like with the ceiling option, you’ll have to contract professional services. This time it will be to help you cut a hole through your wall. You can then fasten your vent hose to this hole so the warm air can find an outlet from the room. For this, you’ll need a specialized solution such as the Intulon hose flange wall mount. This option is compatible with six-inch hoses, and you won’t have to deal with leaks.
A byproduct of the air cooling process in a portable AC is moisture. This moisture will build up in the machine and eventually leak onto the floor. Notably, this problem is not that difficult to correct.
First, check that the drain hose is correctly installed. If it isn’t, this could be the reason for the puddle of water under your AC. Alternatively, the machine may be unable to keep up with the room’s moisture drainage demands. This only happens in extremely humid locations.
Lastly, some of the portable ACs in the market just need to be drained manually, and this should be indicated in the manual. For the first scenario, you should reinstall it the drain and make sure you get it right this time around. As for the humidity being high, the only thing you can do is drain the emergency collection pan regularly.
Some top tier models come with indicators to tell you when the emergency moisture collection pan is full. With these options, you don’t have to guess. However, other models don’t have such a feature, and it’s up to you to periodically check the moisture levels and drain the machine if necessary.
In a few cases, it’s also possible to install a drain hose that leads to your vegetable garden outside. Of course, if you have this option, you should take it to make your work easier.
This will depend on what you’re using the machine for. If you’re cooling air, for instance, you’ll need an exit for the heat; otherwise, hot air will re-circulate in the room, and you’ll be back to square one. However, the fan only mode of use won’t require an exit for warm air, so you won’t be required to vent your portable AC outside. That said, since most of you want full use of your portable ACs, it’s generally a good idea to vent it outside.
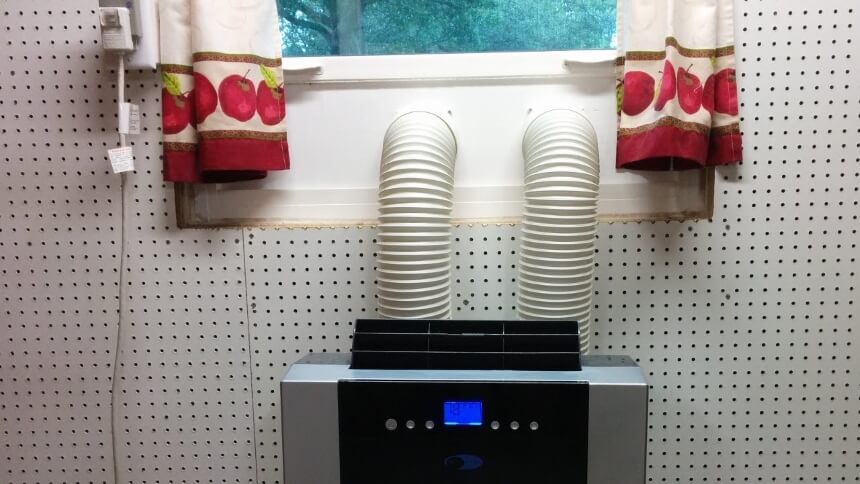
Notably, 20 BTUs is only enough for one square foot of space. Consequently, it makes sense that most users recommend the Whynter ARC-14S portable air conditioner for large rooms. This is because it has a 14,000 BTU rating, which means it will make light work of a 500 square foot room’s cooling needs.
Depending on your situation, installing the portable air conditioner could be as easy as a thirty-minute process for the rookie DIYer. However, if you’ve read the above write-up in its entirety and none of the options works for you, there are other air conditioning options available.
Don’t try to force the issue since other products may be more suited to your needs. Also, comment and ask questions if you still haven’t figured out how to install a portable air conditioner. This will help you avoid mistakes that could ruin your window, door, ceiling, wall, or machine or other installations in the room.
