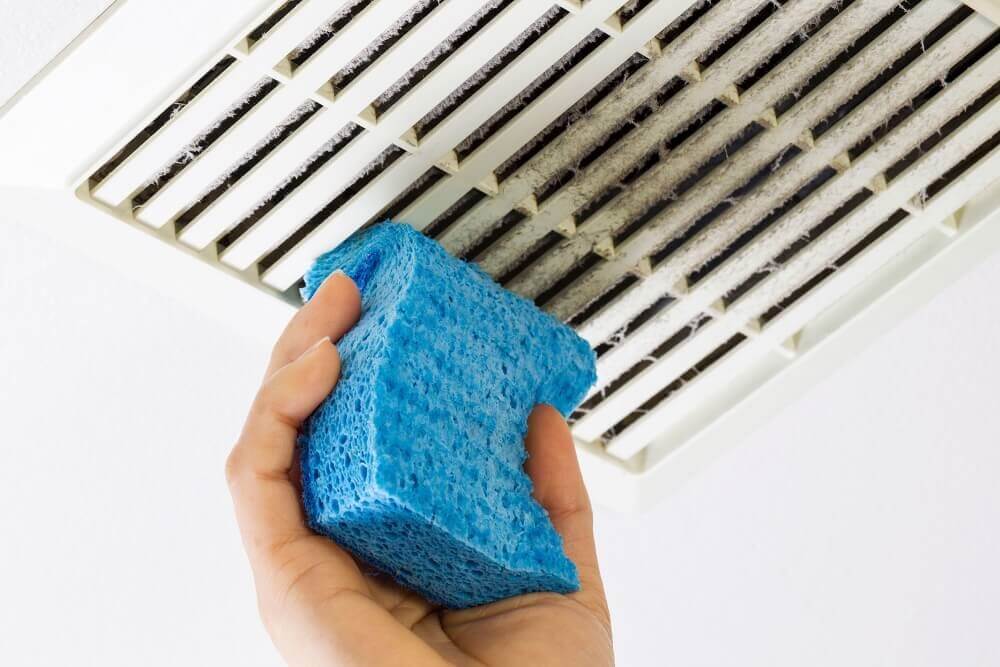

Toilets, sinks, showers, and bathtubs create a ton of moisture in your bathroom, which is why a bathroom exhaust fan is so important to keep these moisture levels down and prevent the growth of mold. The easiest way to install one of these appliances is through your attic but this isn’t always possible, depending on your home. Knowing how to install a bathroom fan without attic access ensures that you can put an exhaust fan wherever you need it, no matter what the layout of your house is.
Of course, you also need to know how to accomplish this installation properly for your exhaust fan to do its job. As well as the ductwork needed for venting, you’ll also need to deal with some wiring, which could require the help of an electrician if you aren’t familiar with this process. For more information on how to properly install your bathroom fan, check out the steps below.
 Those who have never installed a bathroom fan may not be sure how difficult the process is, which is why sometimes it is a good idea to hire a professional for this job. The downside of having someone else do this is that it can be costly, adding several hundred dollars to the cost of the fan. Of course, despite the somewhat complicated process, it is relatively easy to install one of these fans on your own, as long as you have the proper tools and a bit of time to get the job done right.
To install your bathroom fan, there are a few items you need to gather before you get started. The first thing to look for is a new bathroom exhaust fan to replace the old one. There are many to choose from, including the basic models and the ones with some handy extras.
There are several bathroom exhaust fans with lights, giving you the ventilation and illumination you need all in one unit. The Panasonic FV-0511VKL2 WhisperGreen Multi-Flow Bathroom Fan is a popular model, with a built-in light, multiple speeds, and even motion and condensation sensors.
You can also choose a Broan Sensonic Bathroom Exhaust Fan with Bluetooth Speaker, which gives you wireless access to your Bluetooth-enabled devices, plus it is easy to install for added convenience.
If the fan you’re installing is larger than the model you’re replacing in your bathroom, you’ll need a keyhole saw to cut through the drywall and some wooden supports. You may also need a duct adaptor, depending on the size of the ducts in your home.
Some extra switches may be required if your new fan has extra features that warrant this, plus you’ll need a power tester, a screwdriver, and an oscillating or reciprocal saw, and caulk.
Though there are lots of different types of bathroom exhaust fans to choose from, before buying one, you need to remove the cover off of the old one currently in place in your bathroom and measure the housing. This will ensure that the new model you buy will fit the space you already have without requiring you to alter the wall or ceiling, making the replacement a much easier process.
If you’ve already bought your new exhaust fan, you don’t need to take it back to the store. A larger model can still be used in your bathroom, as long as you cut away some of the drywall around the current one. You’ll also need to attach some extra wood supports to the joints to ensure that the fan will fit properly and securely.
You should check the duct size as well. These are usually either 3 or 4 inches, so a duct adapter may be needed to connect the vent to the duct opening to avoid replacing the entire duct system.
Using your old fan switch with your new bathroom exhaust fan is convenient, so maintaining this switch makes the installation process easier. Unfortunately, this may not be possible if your new fan has a few extra features, like a light, a heater, or a humidity sensor. These extras may all require separate switches to keep all of those features from running every time you turn on the fan. This means extra switches, as well as more wiring to deal with.
If you have some wiring knowledge, you can take care of this extra bit of the job yourself if the fan you want is the one with these extras. You can also hire an electrician to take care of this part of the job if needed. Those who don’t want to deal with new wiring and switches should make sure to look at what features are included with the fan and buy one that leaves these extras out in favor of basic ventilation.
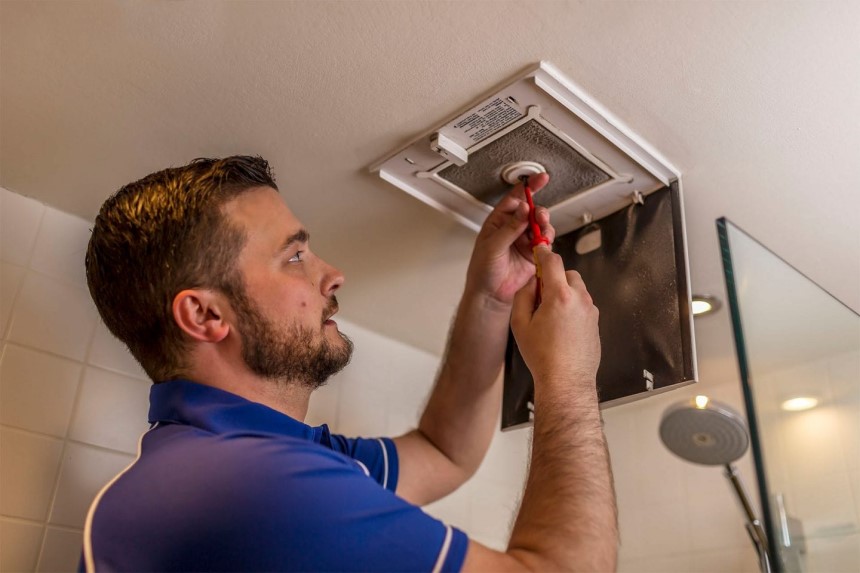
Taking out your old fan must be done before you can install a new one in your bathroom. Before starting this part of the job, be sure to shut off the power. Failing to do so could result in electrocution, so this is the most important part of the installation process. After turning off the power, it is also a good idea to use a tester to be sure there is no electricity flowing to this room of your house.
Once you’re sure that the power is off, you can remove the grill or cover from the old exhaust fan. After the cover is off, the motor should be accessible. Remove any screws holding it in place and disconnect it from the wiring. Then remove the housing by unscrewing the mounting screws. If the housing is mounted to the ceiling joists using metal brackets and you have no access through the attic, you can cut them loose using an oscillating or reciprocating saw.
Be sure to avoid the electrical wires during this process.
When the old exhaust fan has been removed, take off the junction box cover on your new bathroom exhaust fan. This area is where the wiring of your home will be pulled through to allow you to connect it to the motor of the new fan. Not every model will have a junction box, so if yours is missing this piece, you can skip to the next step.
For the models with a junction box, secure the wire using a bushing or grommet. This will prevent any damage to the metal edge. Some models come with these pieces, though you should be prepared if this isn’t included.
Locate the duct connector on your new fan. This is a plastic piece that connects the fan to the duct and includes dampers or louvers that close when the fan isn’t being used. These flaps should be down when you’re installing the fan to allow air to go out without coming back in.
There are two ways to install the connector to the duct. The first is to attach them using foil tape, lining up the housing assembly with the flapper when the housing of the exhaust fan is mounted to the joists.
You can also connect the flapper to the housing, pushing the whole meta housing upwards and into the ceiling. The ducts need to be connected before securing the assembly in place to avoid removing it again and starting all over.
Some of the bathroom exhaust fans include a hanger bar, which allows you to attach the unit to the ceiling joists without using any wood fillers for a proper fit. If a hanger bar comes with the fan, slide them onto the housing with the tabs facing the right way.
The units without these bars are still easy to install. You only need to screw one side of the exhaust fan’s housing to one of the wood joists. These units are quite light, so you don’t need to secure all of the sides to keep them in place.
 Connecting the wiring
Once the housing is mounted to the joist, you can reconnect the wires that you pulled through earlier. Some exhaust fan models have quick-connects, which speeds up this process, though this isn’t guaranteed on every unit, so you may need to twist the wires together using a wire nut.
The easiest way to connect the wiring is to have someone else hold the housing in place while you do so, though you can do this alone if no one is available to help. Once you’ve connected the wires, push them back into the storage compartment, if one is included, or up into the hole.
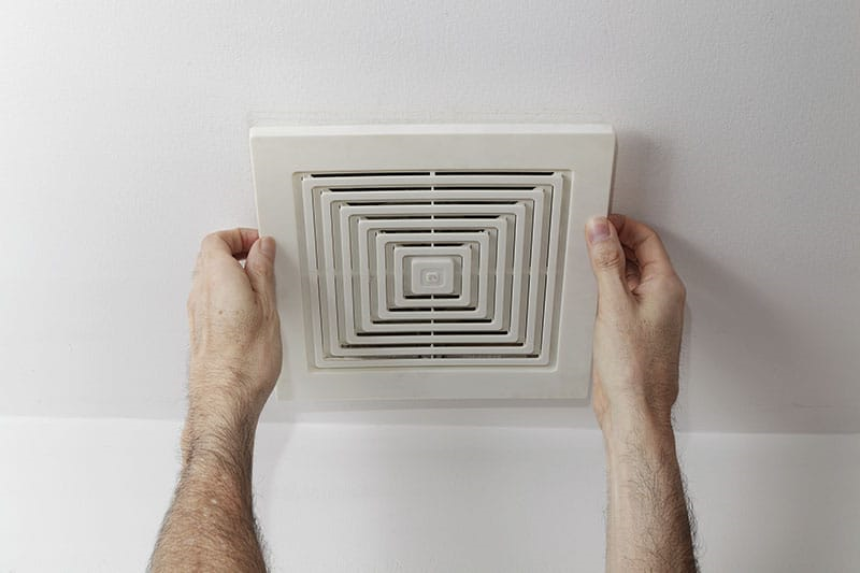
The final step to installing a bathroom exhaust fan is sealing the gaps to avoid leaking air. You can use caulk for this, moving along the edges to ensure every gap is thoroughly sealed. Then you can reattach the cover, clipping it to the housing.
Once it is secured in place, you can turn the power back on and try out your new bathroom exhaust fan.
Though some steps to installing your new unit are easier if you can do so from your attic, it isn’t a necessary part of the job. Learning how to install a bathroom Trusted Source What’s the best way to tackle bathroom condensation after a shower? | Hygiene | The Guardian The long-running series in which readers answer other readers’ questions on subjects ranging from trivial flights of fancy to profound scientific concept. www.theguardian.com fan without attic access needs only a bit of adjustment in the process and can still be done quite easily, even if it’s your first time installing one of these in your home.
You can swap out your old bathroom exhaust fan for a similar model or upgrade it to one with some extras, like heaters, lights, and even Bluetooth speakers, so you can get the features you want without too much extra work in the installation process. Learning how to clean your bathroom fan can also help prolong the lifespan of your new model, ensuring you don’t have to replace it again for quite some time.