
When you suffer from power outages, or you have some other heating emergency, a kerosene heater can safely get you through such hard times. It is important to keep proper ventilation and safety forefront when using this product. The heaters’ that are on the market today come with several safety features that you do well to consider before making a purchase. Some of these heaters can be lighted manually while others come with an automatic ignition system. Either way, after getting a safe kerosene heater, you must know the proper way to light it. In this post, we will consider how to light a kerosene heater manually and via an automatic ignition system. We will see the advantages and disadvantages of using it and other important information that can help you to use this excellent tool well. Read on to find out this information and more!
This product is designed to make you feel warm without using electricity. Instead of electricity, they run on kerosene and come with wicks that burn with fire.
They are especially useful during power outages.
It should be noted that these products emit carbon monoxide due to the combustion of fuel. Therefore, it is important that the areas where they are lit are well ventilated to avoid the harmful fumes from poisoning you.
Further you will find the main steps for a kerosene heater lightning.
Before you start anything, you must first consider the source of fuel that will power the heater. If you have a portable kerosene heater, chances are that it runs on 1-K kerosene, a kerosene grade that doesn’t leave a noticeable scent in the air.
However, that isn’t a rule of thumb. There are several models on the market, and your model might use some other grade of kerosene fuel. Therefore, we strongly recommend that you go through the instruction manual carefully before you try to fill up your fuel tank.
The water-clear and red-dyed types of kerosene are safe to use in many models of kerosene heaters. As for the 1-K kerosene mentioned earlier, you can buy it at most stores near you.
For most models, the fuel cap lies on the base of the heater. There are different ways to remove it, depending on the model, for example, some have the fuel tank cap under an entirely separate access panel, but the most common way is by opening it as you would a bottle. On most of the portable models on the market, the cap is attached by a short cord. This cord ensures that you do not misplace the cover.
After you have accessed the fuel tank, carefully transfer the kerosene from its container to the fuel tank. To do this, insert the manual siphon tanks’ flexible tube inside the fuel tank and the rigid tube into a container of the kerosene. Press the pump at intervals to start transferring the fuel into the fuel tank.
As you do this, it is important that you do not overfill the tank as it can cause problems later on.
We also highly recommend that you do the pouring of kerosene outside the home to avoid any accidents.
By leaving the kerosene heater for an hour, you will let the wick soak in as much kerosene as possible.
This is especially important is you are using a new wick.
There is usually a wick knob in the middle of the unit. You should turn this to the ‘down’ position to lower the wick into the tank. This will allow the wick to sit in the kerosene until all parts of it have been soaked.
As with other steps, we advised you to go through the fine print. Read the manufacturers manual before you light it up; especially for the first time. Many of the manufacturers on the market recommend that you soak it for up to an hour before you use it, although the advice offered might differ from model to model.
After waiting for an hour, the wick will have soaked in enough kerosene. Rotate the knob until the wick is as high as it can go.
Thereafter, you can light up the heater using a lighter or match, or if it has an automatic ignition knob, you can use it to light it up.
The aforementioned steps are how to light up a kerosene heater manually. The next section reveals how to do it if it has automatic ignition.
For those who have a kerosene heater with an Automatic Ignition System the lightning process is described below.
If your kerosene heater comes with this button, chances are that it lies at the base. It takes different forms, from a regular circular button to a horizontal button.
To activate it, press it down until it doesn’t move anymore. As you press it, the internal lighter will move close enough to the wick soaked in kerosene to catch the fumes and light up the device.
Once you have lit your wick, stop pressing the lever.
If for some reason your heater doesn’t light up, it might be that the igniter is misaligned. Hence, you might require manually adjusting it before it can resume working normally.
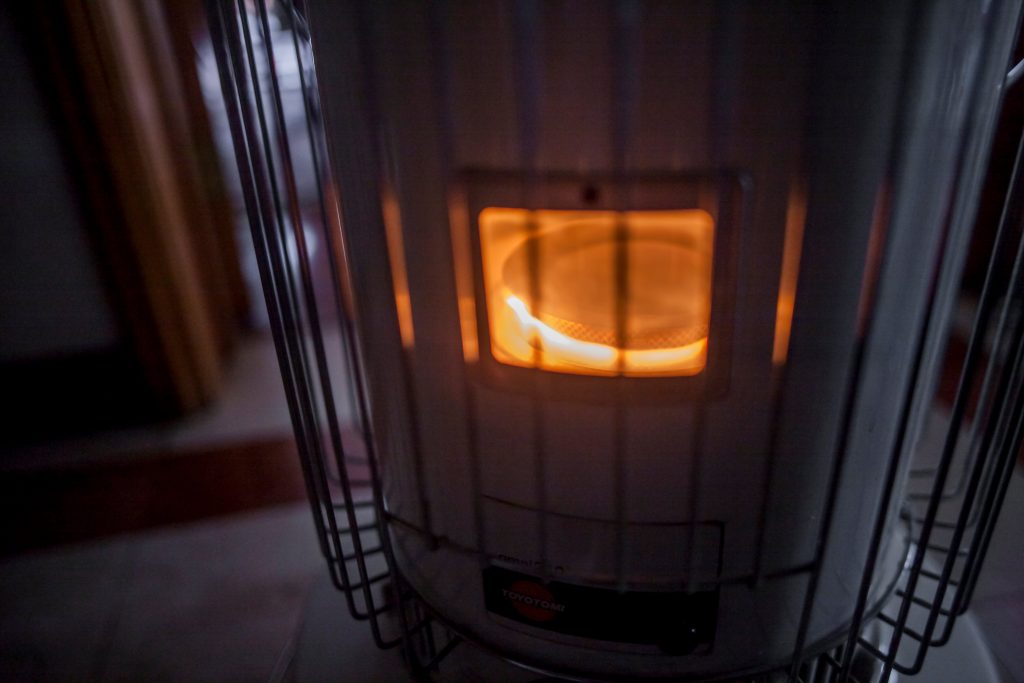
Turn the wick knob to the left or right as needed until the flames reach the recommended height above the flame dispersal disk. Most kerosene heaters have a small window near the burn chamber that makes it easy to check the flame height while the heater is lit.
Check the flames periodically to ensure that they remain at the proper level. Remember, turning the wick knob counterclockwise lowers the lit wick while turning it clockwise elevates it. Adjusting the flame height isn’t just an aesthetic preference—it’s a matter of safety. If the flames are too high, the heater could generate an excessive amount of smoke and soot. If they’re too low, it could increase the risk of an accidental fire or carbon monoxide poisoning.
When you’re done using your kerosene heater, twist the wick knob as far to the left as it will go, but don’t release it yet. Turning the wick knob to the left will lower the wick to the correct height to put out the flames safely.
Extinguishing a kerosene heater can be a little tricky, but you’ll get the hang of it after a few uses.
While holding the wick in the down position, press and hold the shut-off button located to the left of the wick knob, then, slowly let go of the wick knob until it returns to its neutral position. Both of these actions must be performed simultaneously to successfully put out the wick.
After 10-15 seconds, peek in the window or open the door on the body of the heater to confirm that the flames have gone out. Always wait at least 10 minutes to relight your kerosene heater after extinguishing it. This will give any accumulated gases time to disperse and allow the unit to return to a safe operating temperature.
If your kerosene heater supposes the use of matches you should follow the steps described further in order to light it.
To light the wick, you have to open this door. It offers access to the wick. For most models on the market, it lies on the front panel of the heater.
Inside the heater, you’ll see a round metal knob attached to the bottom of the cage-like burn chamber. Use two fingers to pull up on this knob and raise the burn chamber to expose the wick underneath. You’ll use the burner knob as a handle anytime you need to change the position of the burn chamber.
The burner knob is made of non-conductive metals, which means it doesn’t get hot. This makes it possible for you to handle it safely at any time.
Not all kerosene heaters feature doors or hatches. If yours doesn’t, you’ll find the burner knob on the outside of the unit above the wick knob and shut-off button.
The next step is to light your match and place it on the wick to ignite it. Be careful to touch just the match to the wick and not overextend your hand as it can lead to burns.
Toggle the wick knob back and forth as needed until the flames extend roughly half an inch beyond the flame dispersal disk. Turning the knob to the left lowers the wick while turning it, to the right raises it.
As you do this, don’t forget to close the door of the heater once the flames have reached the recommended height. Furthermore, you should come back and check the flame height every hour or so. It’s important for the flames to remain at about 1⁄2 inch (1.3 cm).
After using the heater, rotate the wick knob to the left to reduce the intensity of the flames. You will be required to press the shut-off button and release the wick knob at the same time to ensure that your kerosene heater is totally switched off.
It is important to remain safe while using the kerosene heater. If used incorrectly, they can turn dangerous really quickly.
Tips to consider:
Sometimes it happens that your kerosene heater fails to start or functions not as it should, here you can read about the main causes and possible solutions.
A kerosene heater is a very useful device that comes in handy in power outages. Use this guide on how to light a kerosene heater to get the best use from this handy product. If you run into issues, the troubleshooting section can also assist you in setting things straight and ensuring normal service is restored.