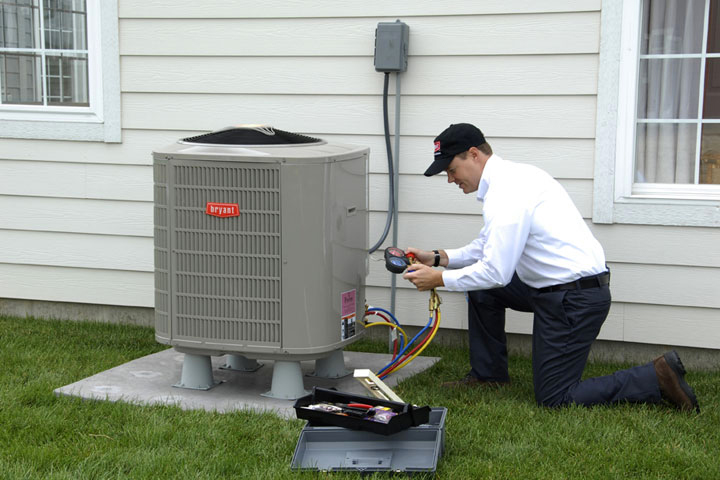

When your heat pump starts acting up, you can literally feel it in the air. It struggles to maintain the proper temperature range, and sometimes you actually see leaking refrigerant or the coils freezing up. This is the point where you should call a technician to service the unit, but sometimes you need to DIY if you know how to charge a heat pump.
To operate properly, heat pumps require a charge of freon, which is the liquid that evaporates and condenses to do the actual heat transfer. But even the best heat pumps suffer from problems with refrigerant caused by leaking, freezing, low pressure, overheating, and much more.
When you determine that your refrigerant levels are low, you can add freon to the heat pump system if you have the right tools. However, we cannot stress this enough: always let a professional carry out this extremely dangerous process unless you have no choice.
 A heat pump is a simple system that cools your home in summer and heats it up in winter, all without generating heat of its own like a furnace does. Instead, it relies on external energy (electricity) to move heat energy against the gradient; from a cooler system to a hotter one.
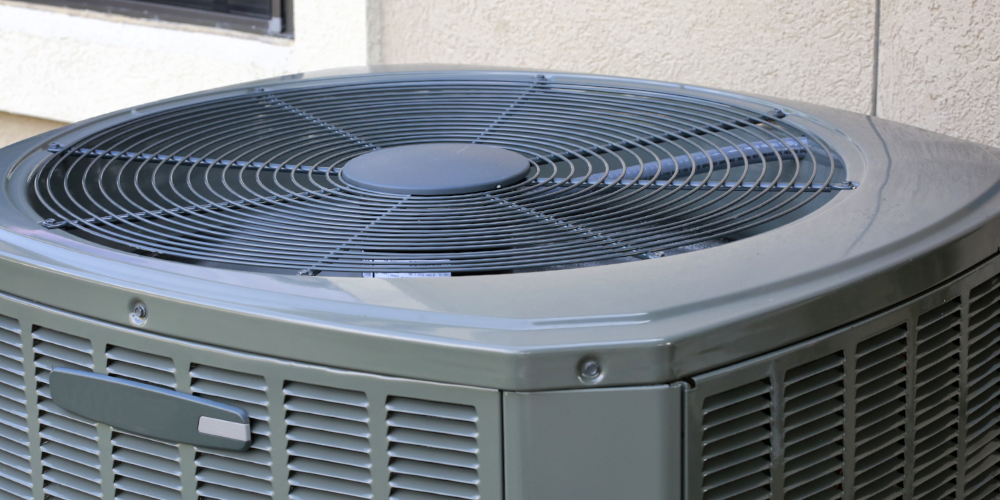
Every air-source heat pump has two units: the outdoor unit and the indoor unit. Both have fans and coils, and each serves as an evaporator or condenser depending on the mode of operation. Within them runs the refrigerant, which is pumped along by a compressor and controlled by an expansion valve and reversing valve.
In heating mode, the outdoor unit acts as the evaporator unit. Despite the lower outdoor temperatures, the refrigerant can absorb some heat energy from the air circulating through the coils and evaporate. It then passes through the compressor, which makes it even hotter.
In the indoor unit, the cooler air circulating through the coils absorbs this heat, causing the refrigerant to condense and heating up the air circulating in your home. The refrigerant now condenses as it is cooled and passes through the expansion valve, where it cools even further. The process starts all over again in the outdoor unit.
The reverse mode turns the heat pump into a cooling unit, passing heat energy from the indoor unit to the outside air.
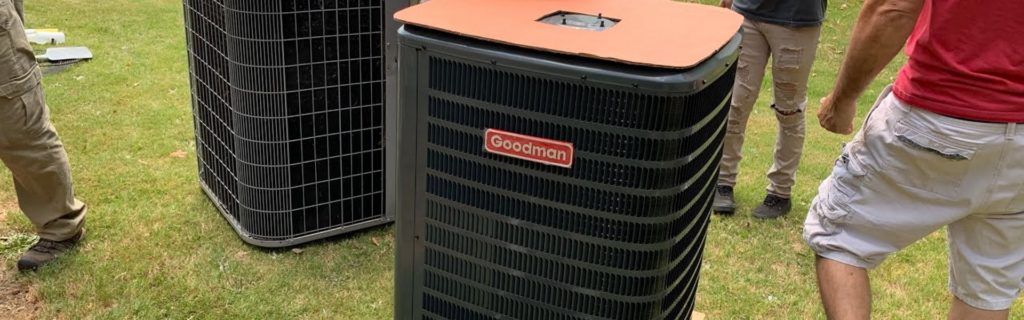
Some poor-quality heat pumps are known to crack and leak refrigerant, which makes them a nightmare for the average user. Thus, the first step to avoid having to recharge your unit every winter is to get yourself a high-end unit from a reputable brand and get it installed professionally.
One of the best heat pumps we have seen is the Goodman 3-Ton 14 Seer Heat Pump system. Being a large system, it is a true workhorse that has proven itself even in the unforgiving climate of Arizona. We love it because it works and it lasts, simple!
When you do have to charge your heat pump in heat mode, though, the following step-by-step process will help to guide you.
Charging a heat pump in winter presents a few challenges. For one, the outside temperatures are low, which means that even the pressure in the refrigerant tank is low. Secondly, the flow of refrigerant reverses, which means that the larger suction line will be the high-pressure side.
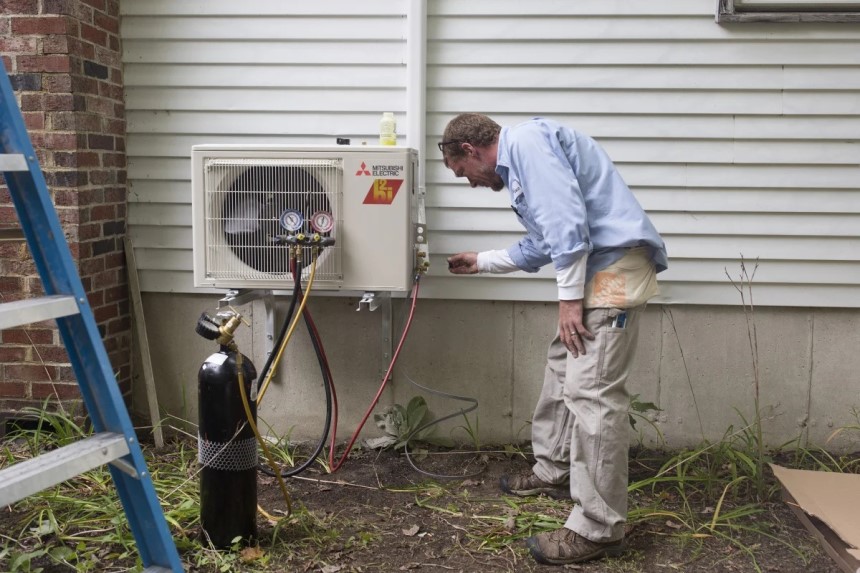
For these reasons, one of the simpler methods of charging a heat pump in winter is the superheat method. You will need a manifold for this operation, which is a set of gauges used for reading pressures off a pressurized system. The manifold has two gauges and two hoses, one red and one blue.
You will also need a surface thermometer and a can of refrigerant such as 410a or R22. Note that your heat pump’s user manual will also have detailed instructions on how to go about this.
The superheat method helps to charge a heat pump in temperatures as low as 20F. However, there are more accurate methods such as charging by weight and charging by discharge temperature. These are more sophisticated and are better left to the professionals.
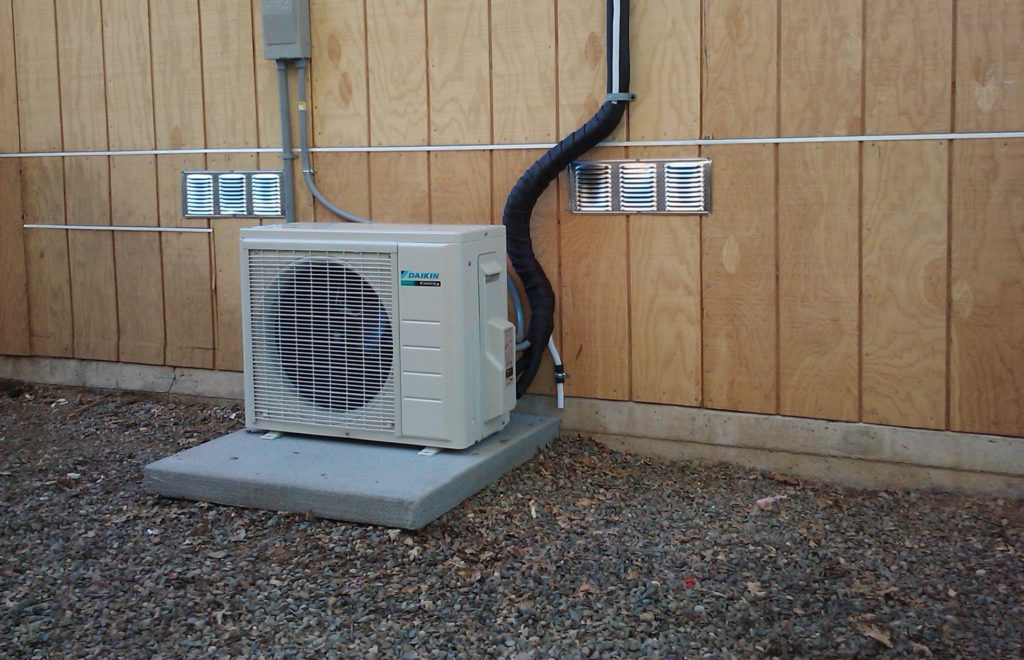
You should know that some more advanced pumps work even in ambient temperatures of below 5F. One such example is the Daikin 19 SEER Wall-Mounted Ductless Mini-Split system. It is a high-efficiency system with powerful operation that covers up to 350 sq. ft, making it perfect for zone heating.
More importantly, Daikin offers free technical support within warranty, which is great for taking away the worry. You can check out our review of the best Daikin heat pumps if you are looking for something a little different with the same great customer service experience.
Charging a heat pump in the summer is much easier. The unit will already be in cooling mode, and the smaller port will become the high-pressure side to which you will connect to the red hose on the manifold.
You will also not need to cover the coils on the outdoor unit with polythene or to disconnect the low-voltage cable. The rest of the operations remain the same, whether you’re going to weigh your charge by lineset or measure the temperature and pressure differences.
 Final Thoughts
In the deep of winter when your heat pump is likely to be working full-out, you are more likely to experience a problem requiring an emergency heat pump recharge. In such cases, it is important to service the unit as fast as possible to avoid further damage and keep your house warm enough for your family.
If trouble does set in, you will be glad to know how to charge a heat pump. Just don’t forget to have the necessary tools lying around: a manifold, surface thermometer, and a can of refrigerant.